WordPress is one of the most accepted website builders worldwide. Moreover, it is the basis of over 33% of the site present on the internet. The main reason it is considered the most popular site is that it is easy to install and makes it easier for the users to build their site without any hassle. Though, every hosting company enables you to download and install the wordpress software in a few clicks.
However, installing wordpress is quite a simple task that takes 5 minutes to complete the installation. Before installing the wordpress, you need to select the right web hosting provider and domain name that knows the wordpress is working. However, many web host offers you better tools that will allow you to install the wordpress. If you want to install the software by yourself, following the below-mentioned steps will help you install the wordpress program. Without any further ado, let us focus on the steps of how to install wordpress on your device.
Step 1 – Download The WordPress Software
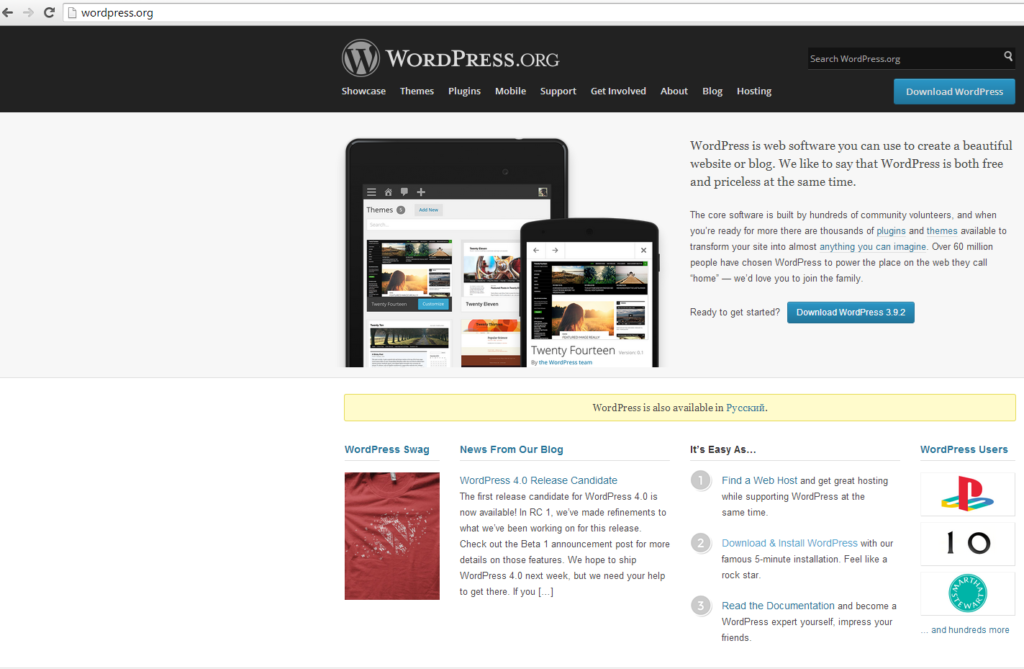
First, you need to download the official site’s wordpress package and save it on your computer. Once the download is completed, then unzip the package to a particular folder on your computer.
Step 2 – Upload The WordPress Folder To The Hosting Account
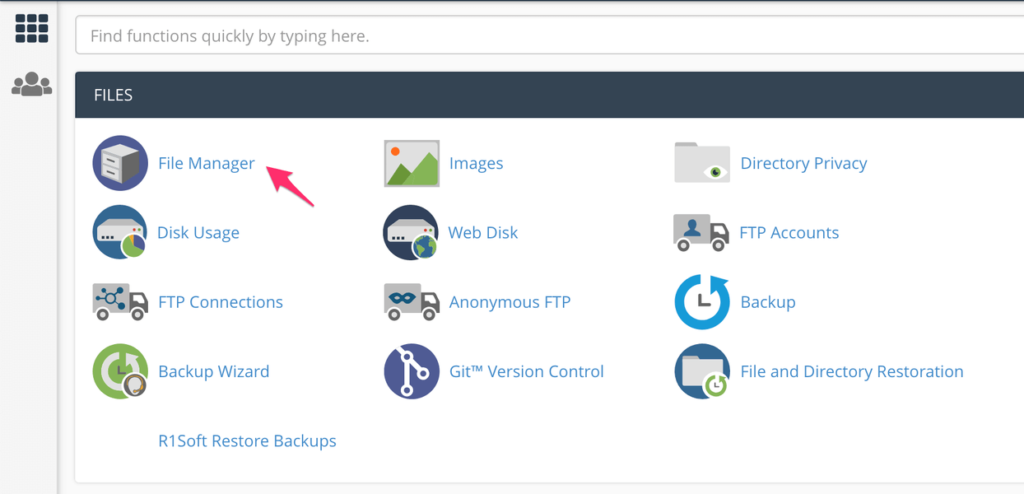
For uploading the wordpress file, there are three options to upload the wordpress file on your hosting providers’ account. When you unzip the package of the wordpress, it will create a folder with the name wordpress along with the contents required to be uploaded to your file manager of the hosting account. You can upload the file by using any of the three methods.
- Upload through the file manager
- Upload through FTP
- Upload through SSH
Step 3- Build Mysql User And Database
The wordpress will store all the information related to your site in a database; thus, you must build a database. You can create one by following these steps:
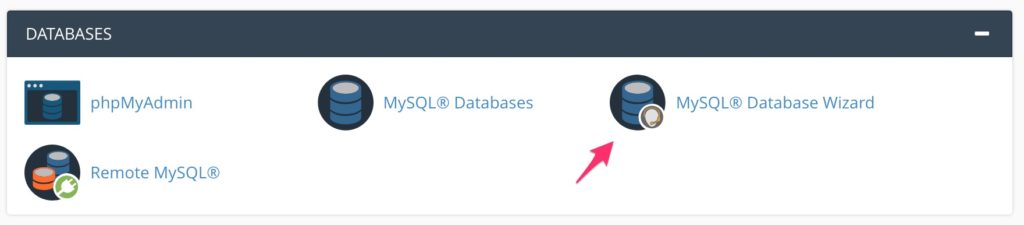
- First, log in to your account in Cpanel.
- You will see a Mysql database wizard icon in the database section.
- Generate a database and enter the name of the database and click on the next step
- Create database users, fill the database with your user name and password, and click on the create user button.
- Add the user in the database, open the all privileges checkbox, and click on the next step button.
- Finish the task; make sure you write the information regarding the user name, password, and database name because you will need it in step 4.
Step 4 – Configure The Wp-Config.Php
The file named wp-config-sample.php contains all the database information and tells the application of wordpress from which database the data needs to be pulled. You have to make sure that the correct database is connected with the installation of the wordpress. The wp-config-sample.php file will be located in the file manager’s folder where you have installed the wordpress. The folder must be having a primary domain name of public_html by default.
Step 5 – Start The Installation
Open a new browsing window and fill in your domain name to start the installation script. However, it depends upon the folder where you have saved the file, and you will be redirected automatically according to either of the following:
- If you have uploaded the WordPress file to the root folder of the domain, you will be redirected to https://domain .com/wp-admin/install.php and
- If you have uploaded wordpress in a subfolder of the domain directory, then you will be redirected to https://domain .com/yoursubfolder/wp-admin/install.php
Step 6 – Finishing The Installation
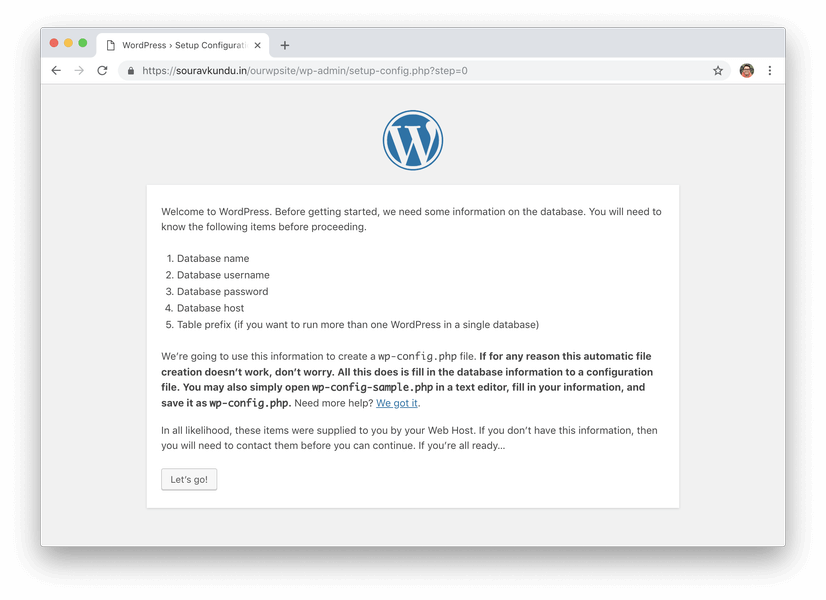
Once you have gained access to the correct wordpress URL of your site in a Brower, you will notice a wordpress setup page will offering you to choose a desirable language. So, select the language according to your preference and click on the continue button.
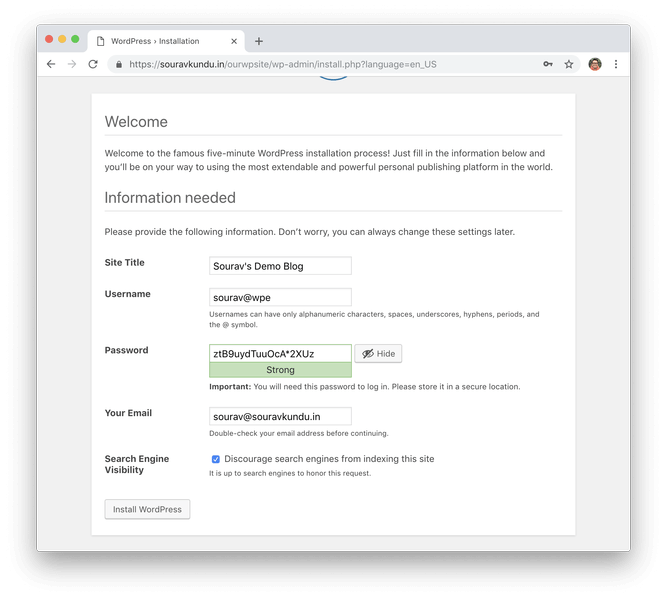
You will then be redirected to the welcome page, where you need to fill in all the information regarding the site title, email, username, password, and search engine visibility. However, you need to choose a unique user name and strong password for security measures and your email address to get information on your email regarding the site.
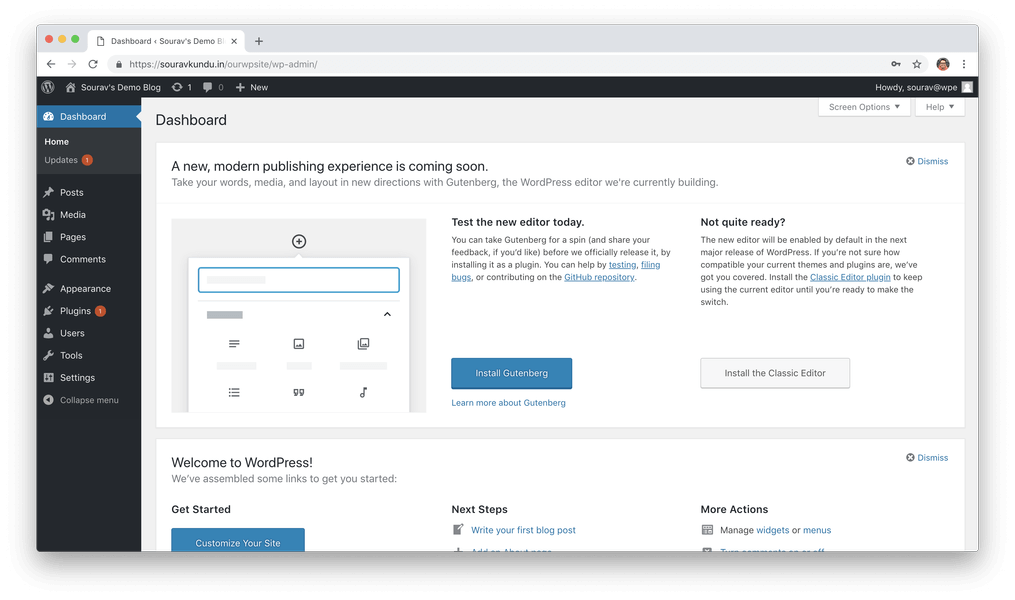
Finally, click on the install wordpress button, and you will be directed to the final page. Moreover, it will display your chosen username and password on the main page, and by clicking on the login button, you will be logged into your dashboard of wordpress and start building your website.
By following the above steps, you will know how to install wordpress on your respective devices easily and begin your site-building.